Wrought iron furniture from the 1940s has experienced a quiet resurgence among homeowners and design enthusiasts who appreciate vintage craftsmanship and authentic character. Unlike today’s mass-produced outdoor seating, 1940s wrought iron pieces were hand-forged and built to last generations, many have already done so. Whether you’ve inherited a set of vintage chairs from a grandmother’s porch or spotted promising pieces at an estate sale, understanding what you have and how to care for it makes all the difference. This guide walks you through identifying authentic 1940s wrought iron, restoring pieces to their former glory, and styling them into a cohesive outdoor living space that actually works.
Table of Contents
ToggleKey Takeaways
- 1940s wrought iron patio furniture is durable, hand-forged, and distinctly more substantial than modern reproductions, making it a smart investment for homeowners seeking vintage craftsmanship.
- Authenticate pieces by inspecting metal gauge (typically 3/16-inch to 1/4-inch), examining welds for irregular forge marks, and checking for authentic patina and era-appropriate paint colors like cream, forest green, or dark gray.
- Restore 1940s wrought iron using wire brushes or chemical rust converters for rust removal, followed by rust-inhibiting primer and durable oil-based or acrylic enamel paint applied in thin coats.
- Sourcing authentic 1940s wrought iron from estate sales, auctions, and antique shops typically costs $75 to $300 per chair depending on condition and maker recognition.
- Style your patio by pairing wrought iron with neutral cushions, complementary natural materials like wood and stone, and minimal competing décor to let the timeless design shine.
- Maintain your vintage collection with touch-ups every 2-3 years in harsh climates and annual inspections, ensuring the investment ages gracefully rather than deteriorating.
The History and Appeal of 1940s Wrought Iron Design
The 1940s marked a golden age for American wrought iron furniture. Factories that had supplied metal components during wartime retooled production toward civilian goods, and designers capitalized on renewed interest in outdoor living. Wrought iron, iron worked by hand or hammer, not cast in a mold, offered elegance, durability, and a distinctly American aesthetic that mixed modernist geometry with organic curves.
What makes 1940s pieces so appealing today isn’t just nostalgia. These chairs, tables, and settees were engineered to withstand decades of weather and use. The metal was thicker than what you’ll find in contemporary reproductions, and the joinery was meticulous. A well-maintained 1940s wrought iron chair can outlive your house. Beyond durability, the design language feels fresh: clean lines, minimalist ornamentation, and proportions that don’t overwhelm a patio the way heavier Victorian pieces can. Homeowners drawn to mid-century aesthetics or farmhouse style find 1940s wrought iron strikes a balance between substantial and refined.
Identifying Authentic 1940s Pieces: Hallmarks and Construction Details
Not every “vintage-looking” wrought iron chair is actually from the 1940s. Reproductions flood the market, and telling the difference requires knowing what to inspect.
Weight and metal gauge are your first clues. Authentic 1940s pieces feel substantially heavier than modern knockoffs because the iron stock itself was thicker, typically 3/16-inch to 1/4-inch material. Pick up a chair leg: it should feel solid, not flimsy. Modern imports often use thinner iron (1/8-inch or less) to cut costs.
Welds and joinery reveal a lot about age. In the 1940s, frames were typically riveted or welded by hand. Look closely at where legs meet the seat frame or where scrolled details attach. Authentic pieces show evidence of forge work: slight irregularities, heat marks, and welds that aren’t perfectly uniform. Factory reproductions have clean, consistent welds applied by automated equipment. If a “1940s” chair has welds that look like they came off a modern robot arm, it probably did.
Paint and patina matter. Original 1940s finishes were typically enamel-based, often in cream, forest green, or dark gray. Look for multiple layers of paint, evidence of touch-ups over decades, and areas where the finish has worn to bare metal (particularly on armrests and seat edges where hands naturally rub). A chair that’s been “refinished” recently versus one showing authentic aging tells a different story.
Maker’s marks and labels are rare but valuable. Some manufacturers stamped their name or initials on the underside of seats or on frame edges. Brands like Meadowcraft, Woodard, and Homecrest are recognized makers, though plenty of quality pieces were unmarked or produced by smaller regional shops.
Key Design Elements That Define the Era
Authentic 1940s wrought iron features a recognizable vocabulary. Scrollwork, curved or spiral details, appears frequently but stays restrained compared to fancier Victorian or rococo pieces. Chair backs often incorporate a simple scroll or wave motif. Geometric frames are common: chairs and tables with clean lines and minimal ornamentation, reflecting streamline moderne and early midcentury influences. Leg profiles typically taper or curve gently rather than remaining perfectly straight: authentic pieces often have cabriole legs or legs with subtle S-curves.
Seat and back construction varies. Some chairs featured woven or caned seats: others had metal mesh seats or solid metal platforms designed for cushions. Authentic mesh typically shows rust or patina in specific patterns, evenly applied modern powder coat looks too perfect to be genuine. Paint color consistency is another tell: legitimate vintage pieces may have faded paint, but the color itself will be appropriate to the era (no hot pink or trendy contemporary hues).
Restoration Techniques for Vintage Wrought Iron Furniture
Restoring 1940s wrought iron is achievable for a committed DIYer, though significant structural damage or severe rust may warrant professional help. The goal is stable, functional furniture that looks like it’s been cared for, not showroom-perfect.
Cleaning, Rust Removal, and Paint Refinishing
Assessment first. Before touching anything, inspect the piece thoroughly. Look for bent or cracked metal, loose joints, and rust patterns. Surface rust (a thin, flaky layer) is normal and manageable. Deep pitting or holes indicate structural compromise: consult a metal fabricator if metal integrity is questionable.
Rust removal depends on severity. For light surface rust, a wire brush attachment on a power drill or a hand wire brush removes loose rust quickly. Wear safety glasses and a dust mask, rust particles and metal dust are nasty inhaled. For heavier rust, a chemical rust converter (like Ospho or Evap-O-Rust) chemically converts rust to a stable black compound that primes well. Follow product instructions carefully: most require application with a brush and drying time before painting.
Don’t use a wire wheel attachment on an angle grinder unless you’re experienced, the speed and aggression can gouge the underlying metal or send fragments flying. A wire brush or chemical conversion is safer and often leaves a better surface for primer adhesion.
Cleaning and prepping the surface. After rust removal, wipe the entire piece with a cloth and mineral spirits to remove rust dust, old paint flakes, and grime. Let it dry completely. If paint is peeling heavily, a scraper or paint stripper speeds things along, but test any stripper on an inconspicuous area first, some formulas can damage underlying metal or leave residue that interferes with new paint.
Priming and painting. Use a rust-inhibiting metal primer (not generic latex primer). Rust-Oleum or similar brands make primers specifically formulated for ferrous metal. Apply two thin coats rather than one thick coat: primer that’s too thick can sag or drip. Allow full dry time between coats, usually 24 hours.
For the finish coat, choose oil-based enamel or modern acrylic enamel paint rated for metal. Oil-based enamel (like Rust-Oleum Industrial Enamel) offers superior durability and UV resistance outdoors, though cleanup requires mineral spirits. Acrylic enamels have lower VOCs and cleanup with water, making them friendlier to home use. Either way, apply two thin coats. Avoid latex house paint: it doesn’t adhere well to metal or weather as gracefully.
Color choice is personal, but staying true to period hues, cream, gray, dark green, or black, keeps the aesthetic cohesive. If you’re uncertain about the original color, photograph similar pieces or check period photos of the manufacturer.
Functional repairs. Loose welds or riveted joints can be re-welded by a metal fabricator, but this requires removing the furniture from your patio and paying professional rates. If a rivet has loosened, a drill press and new rivets can tighten the joint if you’re comfortable with drilling. For most DIYers, tightening any accessible bolts or fasteners and using furniture wax or paste to seal small gaps is enough.
Sourcing and Valuing 1940s Wrought Iron Pieces
Finding authentic 1940s wrought iron requires patience and a sharp eye. Estate sales and auctions are gold mines, homeowners clearing out decades of family belongings often don’t realize what they have. Attend local auctions, ask auctioneers to alert you to upcoming furniture lots, and show up early to inspect pieces. Online marketplaces like eBay, Craigslist, and Facebook Marketplace have inventory, but you can’t see or feel the piece firsthand: ask detailed questions and request photos of welds, metal gauge, and paint condition.
Antique malls and vintage furniture shops in your region usually stock some wrought iron, though prices reflect dealer markup. The advantage is expert appraisal, you can ask the shopkeeper about a piece’s provenance and construction. Estate sale companies operating in your area can be hired to help you hunt for specific pieces or alert you when inventory matches your wish list.
Valuing pieces depends on condition, rarity, maker, and current market demand. A simple but well-preserved four-chair set from a recognized maker might fetch $800 to $2,000, while a rare lounge chair or outdoor settee in exceptional condition could reach $1,500 to $4,000. Heavily rusted or damaged pieces are cheaper but require restoration investment. A realistic baseline: if you’re paying more than $300 per chair for an unrestored piece, confirm it’s from a known maker or has exceptional design merit. Common patterns in fair condition typically run $75 to $200 per chair.
Research comparable sales on auction sites, interior design blogs, and antique furniture databases. Condition, rarity, and historical documentation all drive value. A chair with a manufacturer’s label and a clear photo history beats a mystery piece of similar appearance.
Styling Your Patio with Vintage 1940s Wrought Iron Furniture
Once you’ve sourced and restored your 1940s wrought iron, styling it into a cohesive outdoor space requires restraint and intentionality. Unlike throwback trends, authentic vintage pieces demand a measured approach.
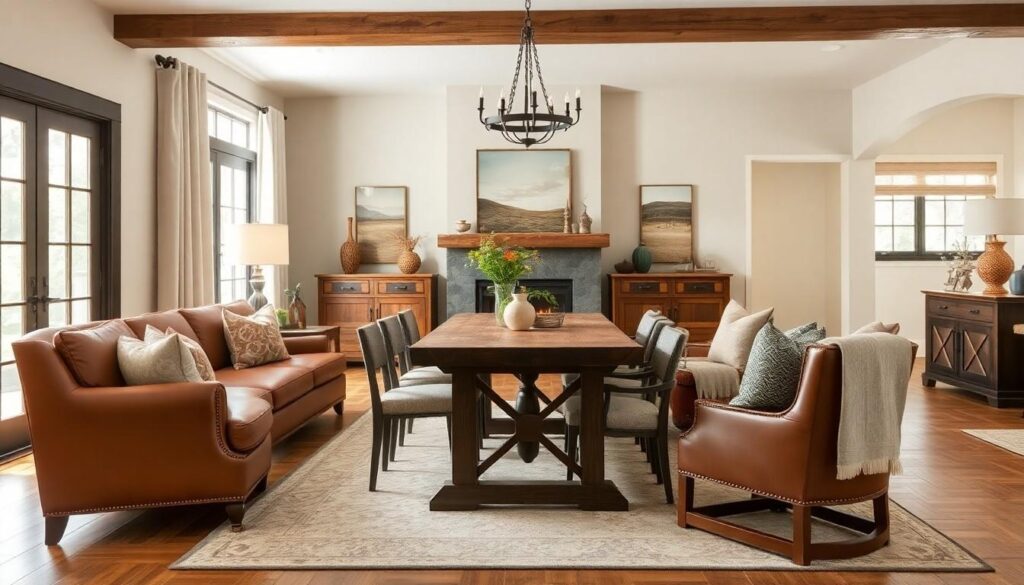
Keep the rest minimal. Wrought iron reads as substantial on its own: pairing it with too many competing textures muddies the look. A simple porch and outdoor living idea is choosing a neutral color palette, creams, grays, soft greens, or weathered wood tones, for cushions and decor. Solid-colored Sunbrella cushions in cream or soft blue complement the period feel without overwhelming the metal.
Arrange for function first, aesthetics second. A living room floor plan works the same way outdoors. Position seating to face each other or a focal point (a view, a fireplace, a garden feature). Don’t scatter chairs randomly. Four chairs around a small wrought iron side table create an intimate conversation area: a larger dining set becomes the anchor of the patio. Landscape inspiration from garden design shows how furniture placement frames outdoor spaces and invites use.
Layer with complementary materials. Wrought iron pairs beautifully with natural wood, stone, or brick. If your patio is concrete, add a durable rug (outdoor jute or recycled material) to define the seating area and warm the space. Potted plants, especially ferns or boxwood in simple containers, add softness around the metal edges.
Accessorize thoughtfully. A rustic renovation approach embraces simplicity: lantern-style lighting, a weathered side table, or climbing vines on a nearby trellis feel period-appropriate. Avoid modern metal furniture in radically different finishes (bright aluminum, stainless steel) near your 1940s pieces: they’ll clash stylistically.
Maintenance keeps it looking intentional. Plan to touch up paint every 2-3 years in climates with harsh weather. In milder regions, a yearly inspection and wax or furniture polish keeps the finish fresh. This isn’t a “set it and forget it” material, but the payoff is timeless elegance that gets better with age.